Every day, people are looking for ways to stay more safe and secure on the internet. Whether you are working from home or traveling abroad, it is becoming increasingly important to have a VPN installed on your smartphone.
A VPN will encrypt all of your data so that nobody can access it without the right credentials (unless they hack into the servers). It also protects you against hackers who might try to steal your banking information or other sensitive information.
This blog post will teach you how to use up a VPN on an iPhone-you’ll be surfing undercover in no time! Here’s what you need to know about using and setting up a VPN on your iPhone.
Download a VPN app from the App Store
The first step to using a VPN on iPhone is to download a VPN app. There are many different iPhone VPN apps that you can choose from in the App Store, but there are some key features of an app that you should look for when choosing one.
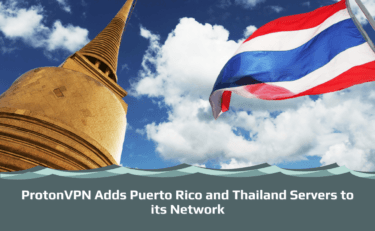
First, make sure your chosen VPN has servers in more than one country so it will be easier to unblock content and access geo-restricted material on streaming services like Netflix or BBC iPlayer.
Also, look for a kill switch feature that completely cuts off the internet connection once the VPN fails (this prevents hackers who might try to steal your data).
You could also consider using split tunneling if this option is available with your chosen VPN; this allows users to select specific apps or devices they want to use the VPN with while regular apps can access a direct connection.
It’s also important that the provider has a no-logs policy, because this means they won’t keep any of your data on record-if you want to remain completely anonymous online then make sure it is one of the features advertised by the VPN company!
Once you have found an iPhone VPN app that ticks all these boxes, go ahead and download it from the App Store. It should only take a few seconds for it to appear on your phone once downloaded.
Customize Settings on Your iPhone VPN App
Before you connect to the internet with your VPN, it’s important that you first customize all of its settings.
First, make sure your chosen iPhone VPN app has a kill switch function activated. You can also adjust protocol options to adjust VPN tunnel speed and security level.
Make sure your iOS VPN app also has auto-connect options enabled. You will want the iPhone VPN to automatically connect when it detects an unsecured internet connection (like public Wi-Fi) or one where other people might try and steal data from you.
If there’s no need for this then simply switch off this feature so that your phone doesn’t waste battery life while turning on and connecting itself unnecessarily!
Connect to a VPN Server on Your iPhone
Once you have customized all of the settings on your VPN, it’s time to connect.
First, make sure that your phone is connected to a Wi-Fi network or mobile data connection. Then open up the app and choose which server location you want to connect with by tapping Connect at the bottom right corner of the screen. A notification will appear when this has been completed successfully!
Your IP address should now be changed so no one can see what country you are in or monitor any internet activity on your phone.
Disconnect the iPhone VPN
If you want to disconnect the VPN on your iPhone, simply tap Disconnect on the VPN app.
Don’t forget that each time you use a Wi-Fi connection or change location (by leaving home for example) it is wise to reconnect with your chosen iOS VPN server! This will ensure all of your data stays protected at all times when you connect with an unsecured public network like this one.
Now, you should be able to use an iPhone VPN with little to no effort!

I’m Madeleine, and I'm a writer that specializes in cybersecurity, tech products, and all things related to the internet.
I have a keen interest in VPNs and believe that everyone deserves internet freedom and security. I wr...
Read more about the author